Add a blog to a Webflow site
By BeeRanked · October 22, 2026
Webflow's CMS can run a blog inside a Webflow site, and it does so well within its item limits and its URL rules. The blog may need to live somewhere else: past the CMS item count, in a tool built around search, or under a path Webflow cannot serve by itself. Every statement about Webflow below is quoted from Webflow's help centre and pricing page, fetched in September 2026.
What Webflow's blog is
Posts are CMS items shown through a Collection template page, and Webflow lets you nest that page: "When you set a parent folder for a Collection template page you can serve those Collection's item pages on a subdirectory URL." So a blog inside Webflow can live at yoursite.com/blog/post, which is the right shape.
The limits are per plan. Webflow's help centre states that "The free Starter Site plan allows your site up to 1,000 monthly visits, 50 CMS items, and 2 static pages", and that "Basic Site plans are specifically for sites that do not use any CMS or Ecommerce features". The pricing page's CMS items row runs from 50 on Starter to 20,000 on the top plan. Two URL rules are worth knowing before you name anything: "Webflow only supports lowercase Latin alphabet characters (a-z) and numbers (0-9) in page URLs", and "Folders can't have the same URL as a Collection."
What Webflow says about a subfolder served from elsewhere
Webflow documents it, with a condition. Its help article on reverse proxies says: "Reverse proxies let you serve Webflow content under your own domain or a subdirectory. Note that Webflow does not configure or support third-party proxies". The article is written for the case where Webflow sits behind your proxy, with a section headed "Subdirectory setups (example.com/blog)". If you run that proxy, you also decide where /blog goes.
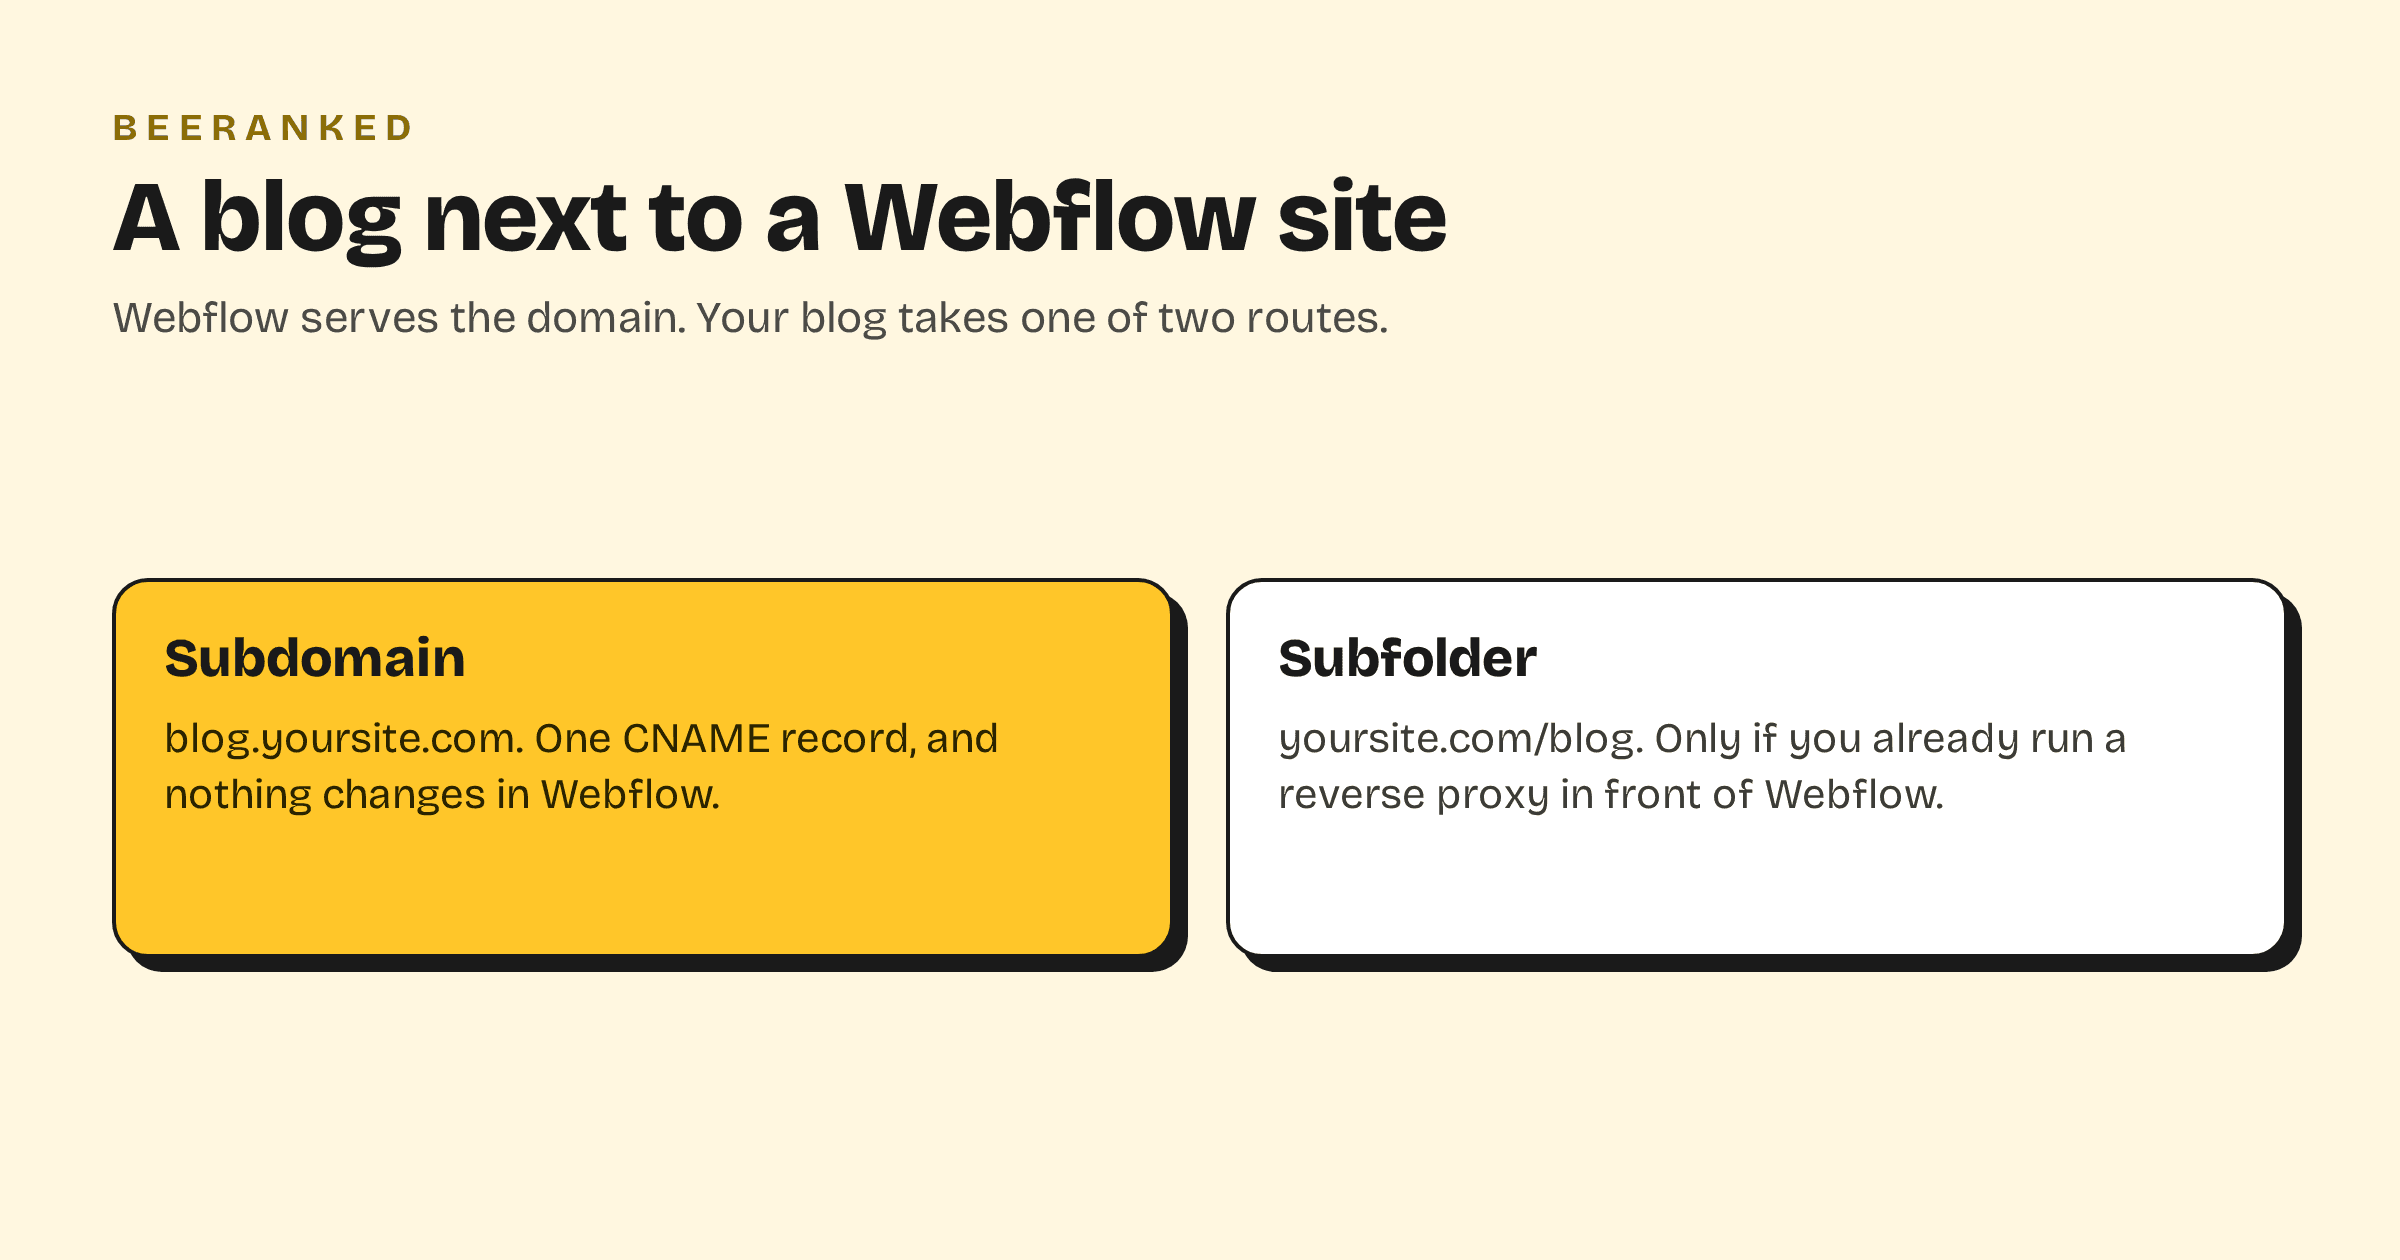
Without a proxy of your own, Webflow serves the whole domain, and an outside blog cannot take a path of it. That is the case for every site on Webflow's own hosting, and it leads to the subdomain, which Webflow supports on any paid site plan: "you can publish your site to any custom domain (e.g., yourdomain.com) or subdomain (e.g., subdomain.yourdomain.com) you own."
Route 1: a subdomain, one DNS record
In BeeRanked, open Settings, then Connect your site, choose Subdomain and type the name, for example
blog.yoursite.com.At your DNS host, add the record BeeRanked shows: a CNAME named
blogpointing atconnect.beeranked.online, DNS only, no proxy.Wait for the status to read Ready, usually a few minutes, then click Set as active.
Add the blog to the Webflow navigation and link back to your Webflow pages from the articles. Serving on your own domain is a paid BeeRanked feature; the free plan publishes at a BeeRanked address.
Route 2: a subfolder, if you already run a proxy in front of Webflow
If your domain is served by a reverse proxy you manage, with Webflow behind it, you have what a subfolder needs. In BeeRanked choose Subfolder, enter your domain and the path, for example /blog, and copy the block BeeRanked generates for Caddy, nginx, Apache or Traefik. Paste it next to the rule that forwards the rest of the domain to Webflow, and reload. The blog now serves under yoursite.com/blog, and every canonical, sitemap entry and internal link is written for that address.
Webflow's own note about internal links applies to the Webflow half: its article suggests the "Href prefix" setting "if needed to keep internal links working under /blog". Keep the two paths distinct so neither half claims the other's URLs.
Which route
Choose the subdomain if Webflow hosts your domain, which is the normal case. Choose the subfolder if you already run the proxy. Both keep the Webflow site untouched, and both come with structured data, an automatic sitemap, managed redirects and translations on every page. The trade-off between the two addresses is in Subdomain or subfolder for your blog; the wider guide is How to add a blog to the website you already have.