Add a blog to a Shopify store
By BeeRanked · October 16, 2026
A Shopify store comes with a blog, and for a store that only needs posts, that blog is enough. Some stores want more from their content than the built-in blog gives: a URL structure of its own, documentation or guides next to the posts, more than one language, or writing in a tool made for search. Every statement about Shopify below is quoted from Shopify's own help centre and developer documentation, fetched in September 2026.
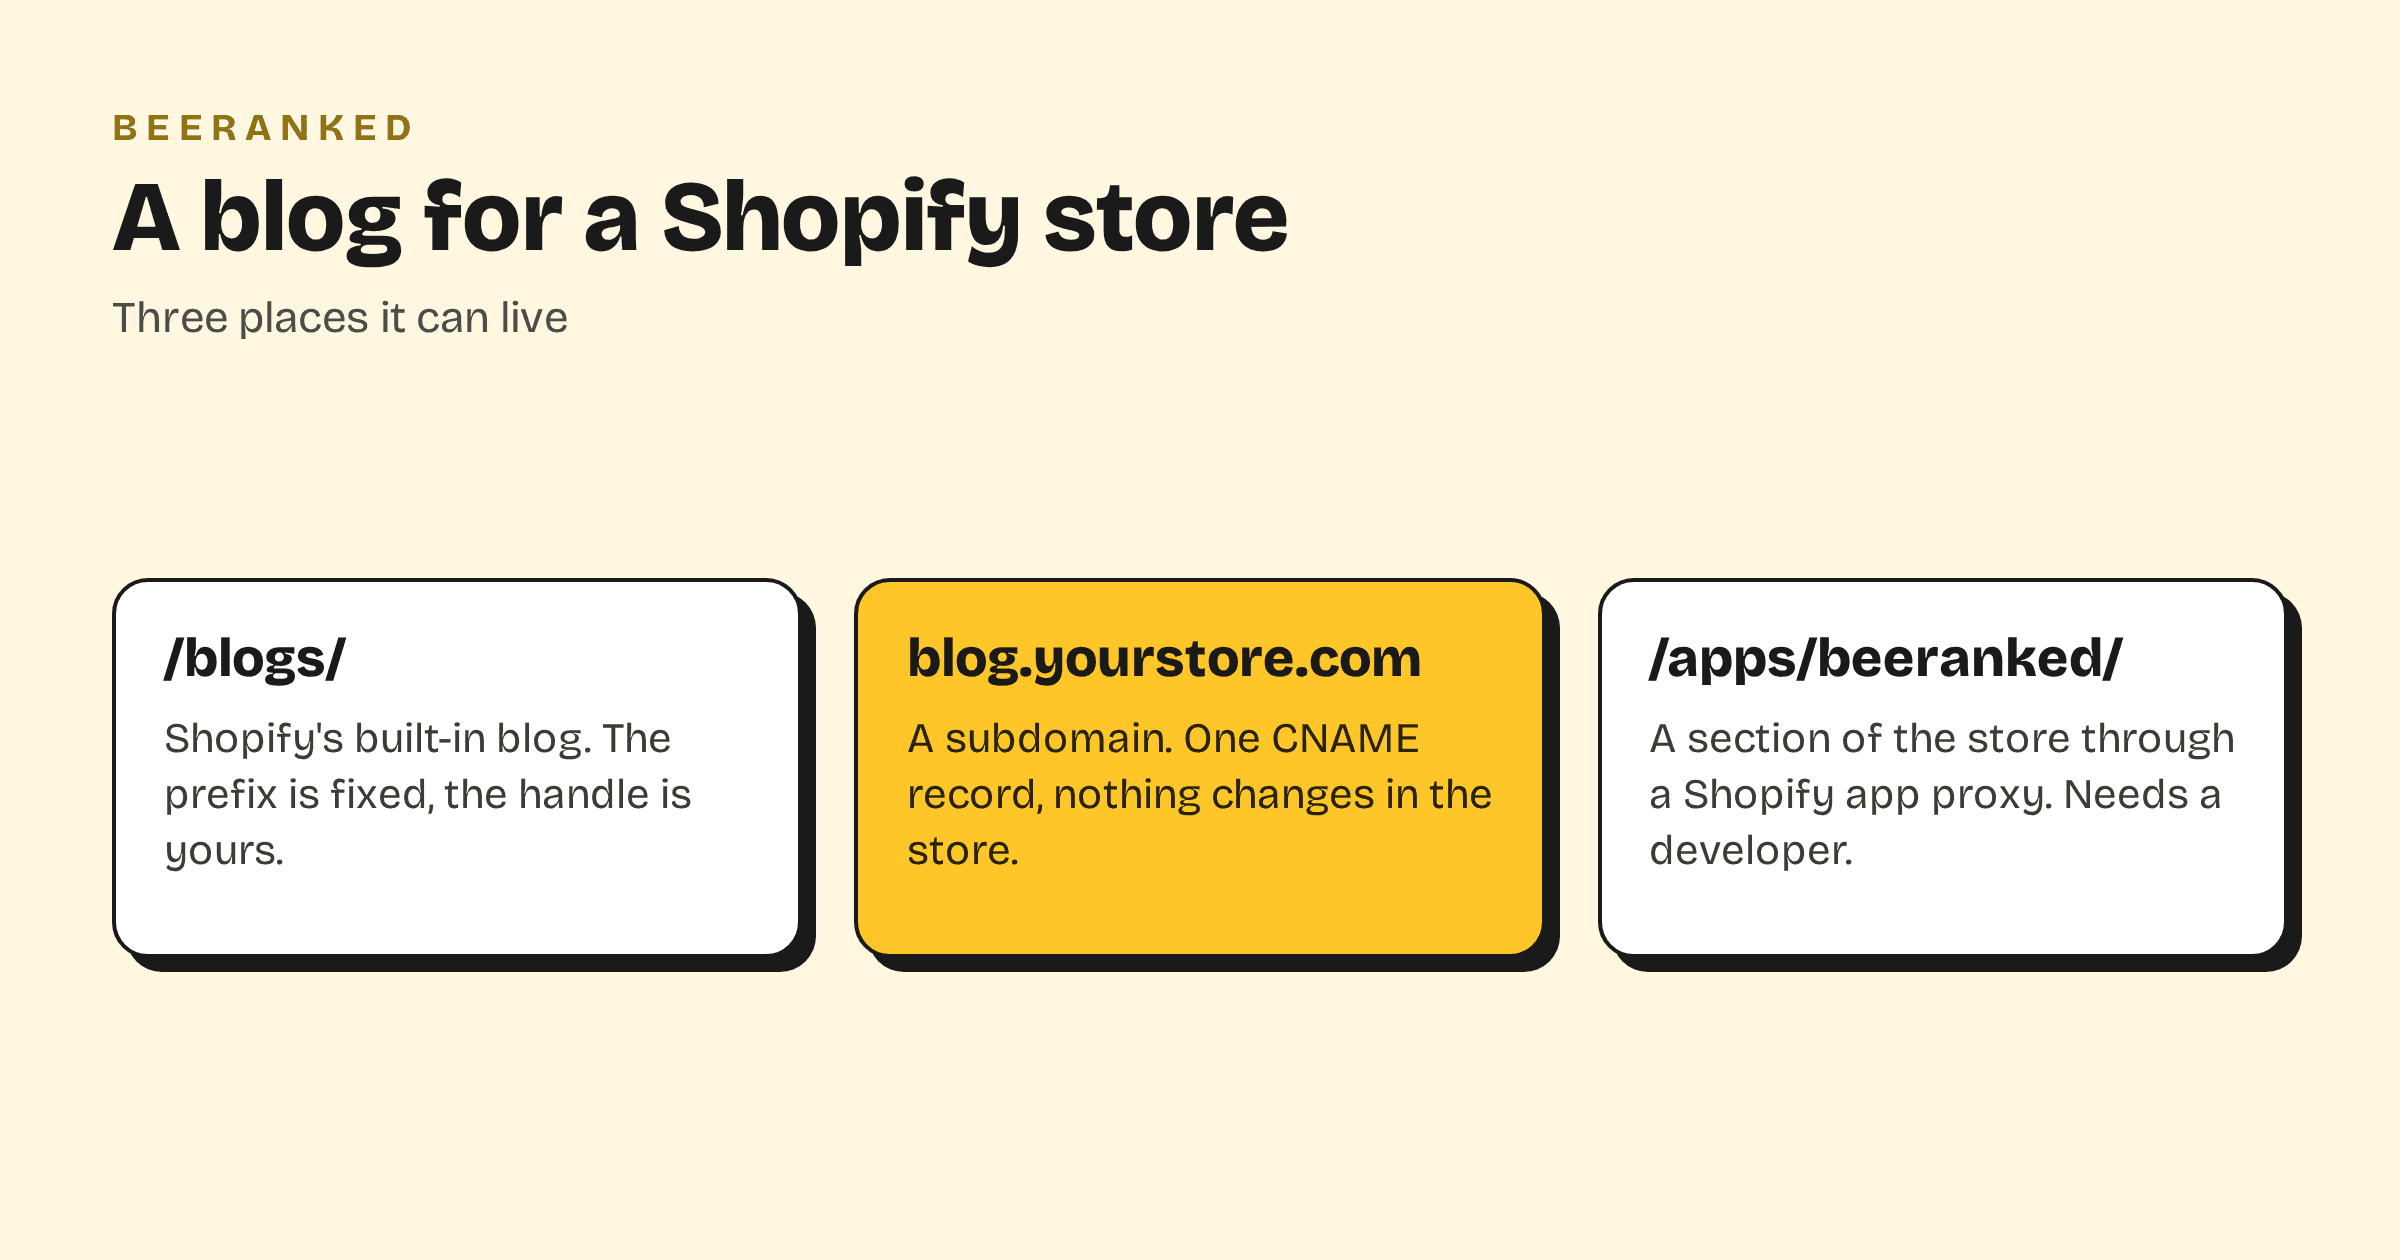
What Shopify's blog is
Shopify's help centre starts here: "Your online store has a default blog called News. You can edit any of the details of this blog, as well as create additional blogs." A blog's address is fixed in shape. In the Liquid reference the blog object's url is "The relative URL of the blog", with the example /blogs/potion-notions, and an article's handle is the blog handle plus the post slug. You can edit the last part: "In the URL handle field, you can change part of the web address." When you do, Shopify offers "a pre-selected option to Create a URL redirect". The /blogs/ prefix itself is not documented as something you can change.
That is a perfectly good blog for product news and announcements. Its limits appear when the content becomes the strategy: guides and comparisons that need their own sections, articles in several languages, structured data beyond what the theme emits, and a writing workflow that starts from search data. Shopify's own help centre acknowledges the outside option in one line: "If you already have a blog on an external site, then you can add a link in your online store navigation to a blog that's hosted on a third-party platform, such as WordPress, Tumblr, and Blogger."
Route 1: a subdomain, one DNS record
The blog lives at blog.yourstore.com, on your domain, with the store untouched.
In BeeRanked, open Settings, then Connect your site, choose Subdomain and type the name you want.
At the DNS host of your domain, add the record BeeRanked shows: a CNAME named
blogpointing atconnect.beeranked.online, DNS only. If Shopify manages your domain, the record goes in your Shopify domain settings.Wait for the status to read Ready, then click Set as active.
Add the blog to the store's navigation, and link from articles back to collections and products, so the two halves read as one site. Serving on your own domain is a paid BeeRanked feature.
Route 2: a section of the store, through an app proxy
Shopify lets an app serve pages under a path of the store, and BeeRanked ships as one. With it, the content appears at yourstore.com/apps/beeranked/blog/your-post, on the store's own domain and path. BeeRanked verifies each request with Shopify's signature and rewrites every link, canonical tag and sitemap entry to that address, so search engines see one site.
This route needs a developer for an afternoon: the app is created from your Shopify account with the Shopify CLI and installed on the store. If you have one, it is the strongest option for search, because the content is a path of the domain your products already rank on. If you do not, the subdomain does most of the same job with no code at all.
What comes with either route
Every page is served as fast, plain HTML with the article's structured data, an automatic sitemap, managed redirects when a URL changes, and translations if you sell in more than one language. Blog posts, guides, documentation and any custom section you define all live in the same place. Writing happens in the studio, or from an AI agent through MCP.
Which route
Choose the subdomain if you want the blog live this week without touching the store. Choose the app proxy if a developer is available and you want the content under the store's domain path. Both keep your product pages as they are, and you can move from one to the other later, with the redirects created for you. The trade-off between the two addresses is in Subdomain or subfolder for your blog, and the wider guide is How to add a blog to the website you already have.